#include <Keyboard.h>
#include <Wire.h>
#include <Adafruit_GFX.h>
#include <Adafruit_SSD1306.h>

// ═══════════════════════════════════════════════════════
//  OLED
// ═══════════════════════════════════════════════════════
Adafruit_SSD1306 display(128, 64, &Wire1, -1);

// ═══════════════════════════════════════════════════════
//  MATRIX PINS
// ═══════════════════════════════════════════════════════
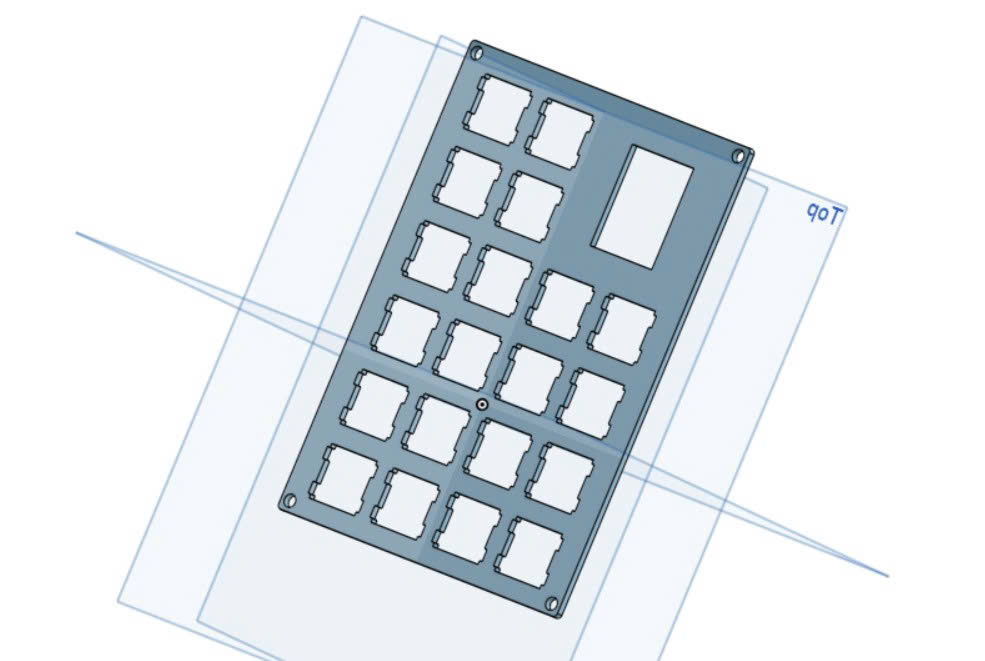
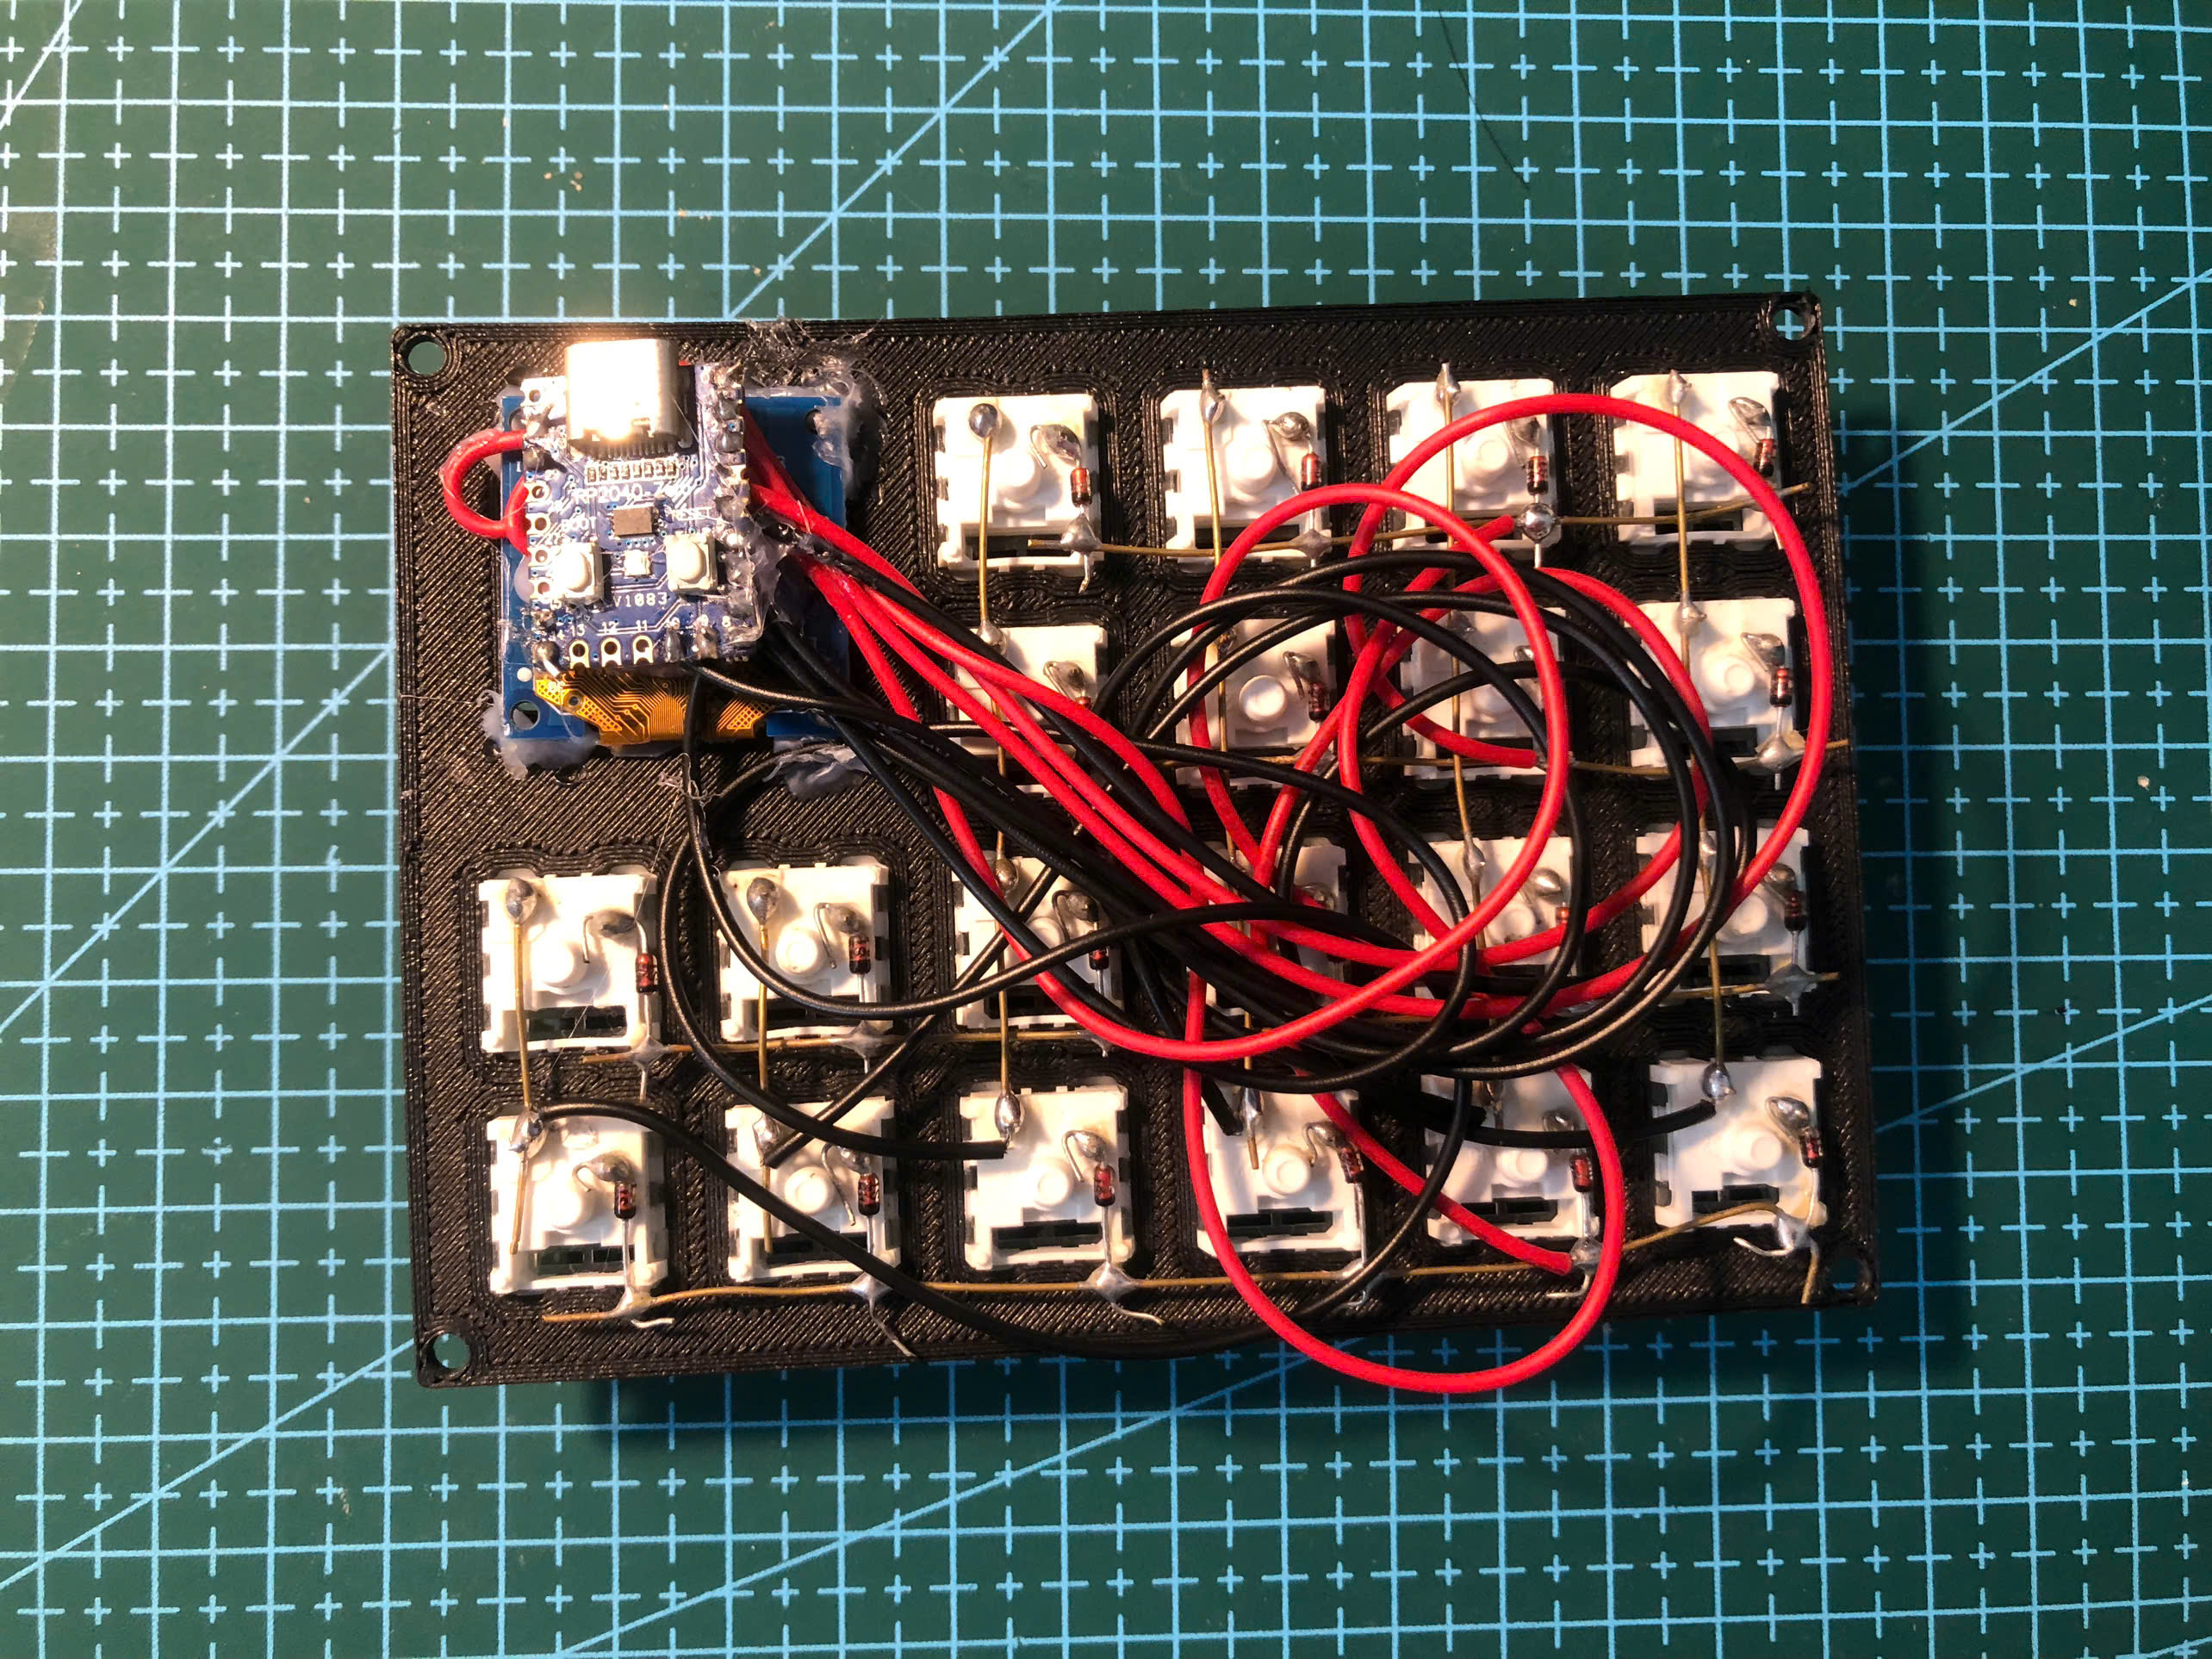
const int ROW_NUM = 4;
const int COL_NUM = 6;
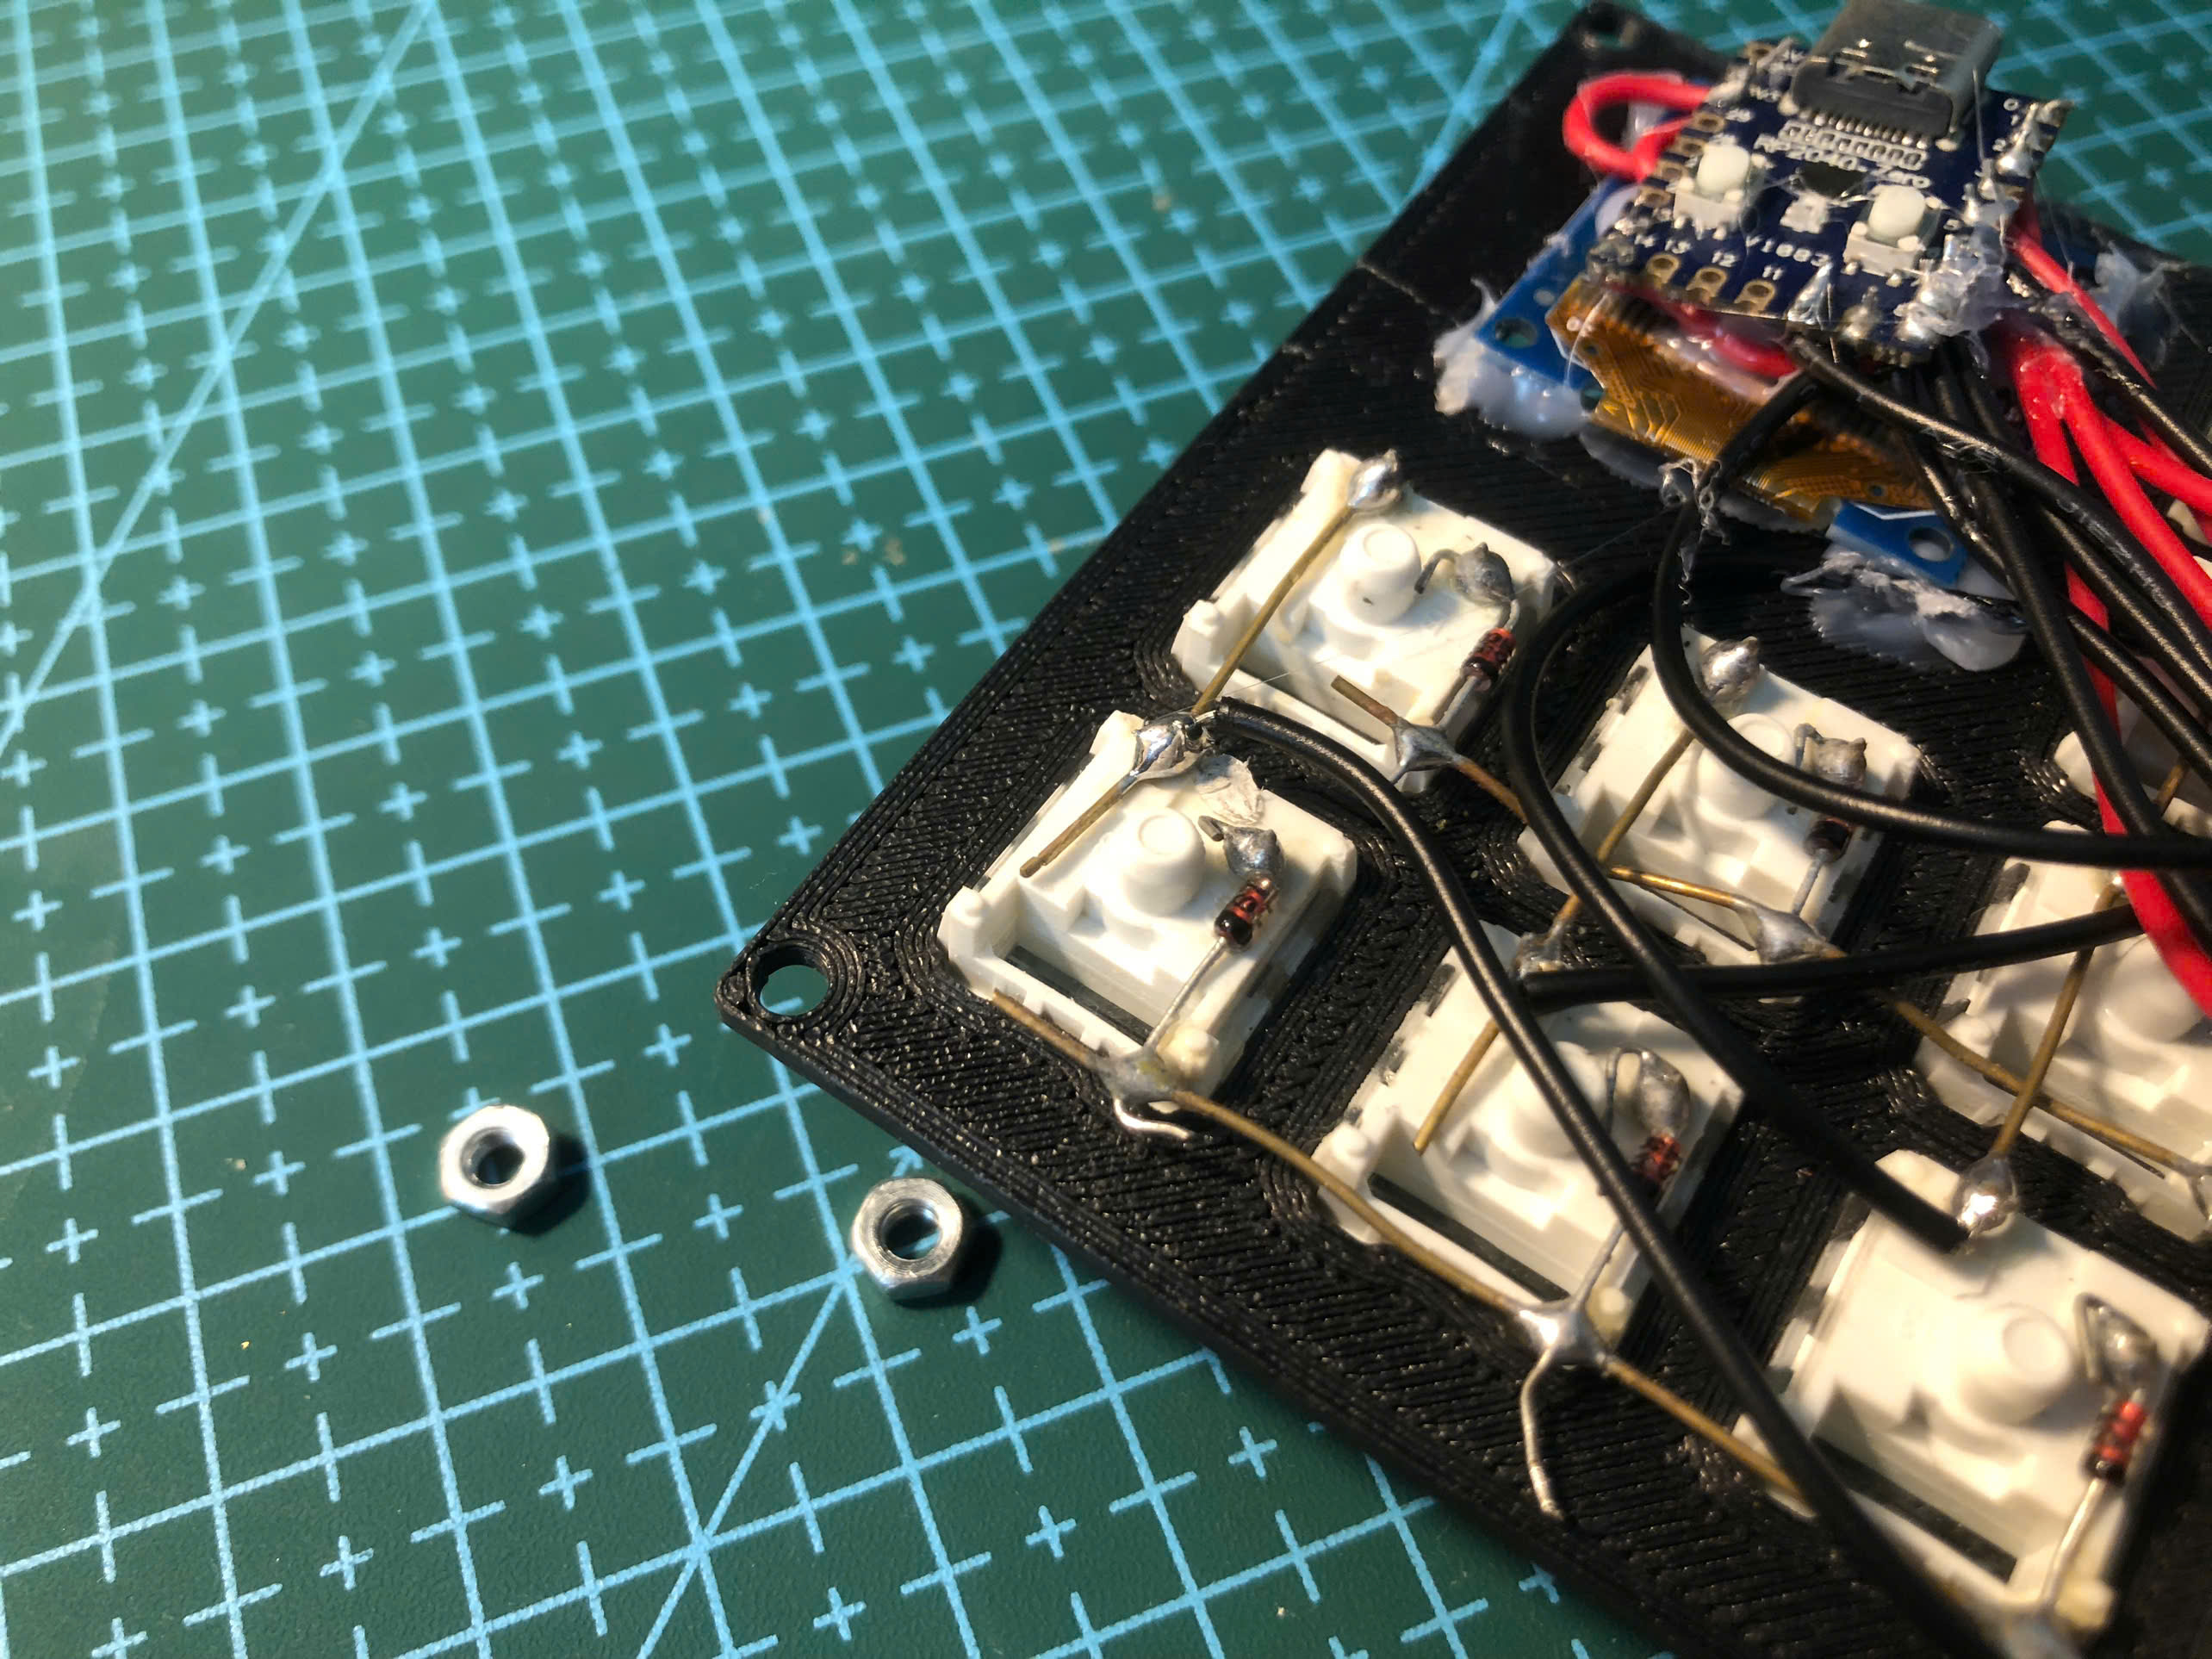
const int rowPins[ROW_NUM] = {0, 1, 2, 3};
const int colPins[COL_NUM] = {4, 10, 6, 7, 8, 9};

// ═══════════════════════════════════════════════════════
//  SPECIAL KEY CODES
// ═══════════════════════════════════════════════════════
#define K_EMPTY  0x00
#define K_FN     0xF1
#define K_CTRL   0xF2
#define K_DEL    0xF3

// ═══════════════════════════════════════════════════════
//  KEYMAPS [layer][row][col]
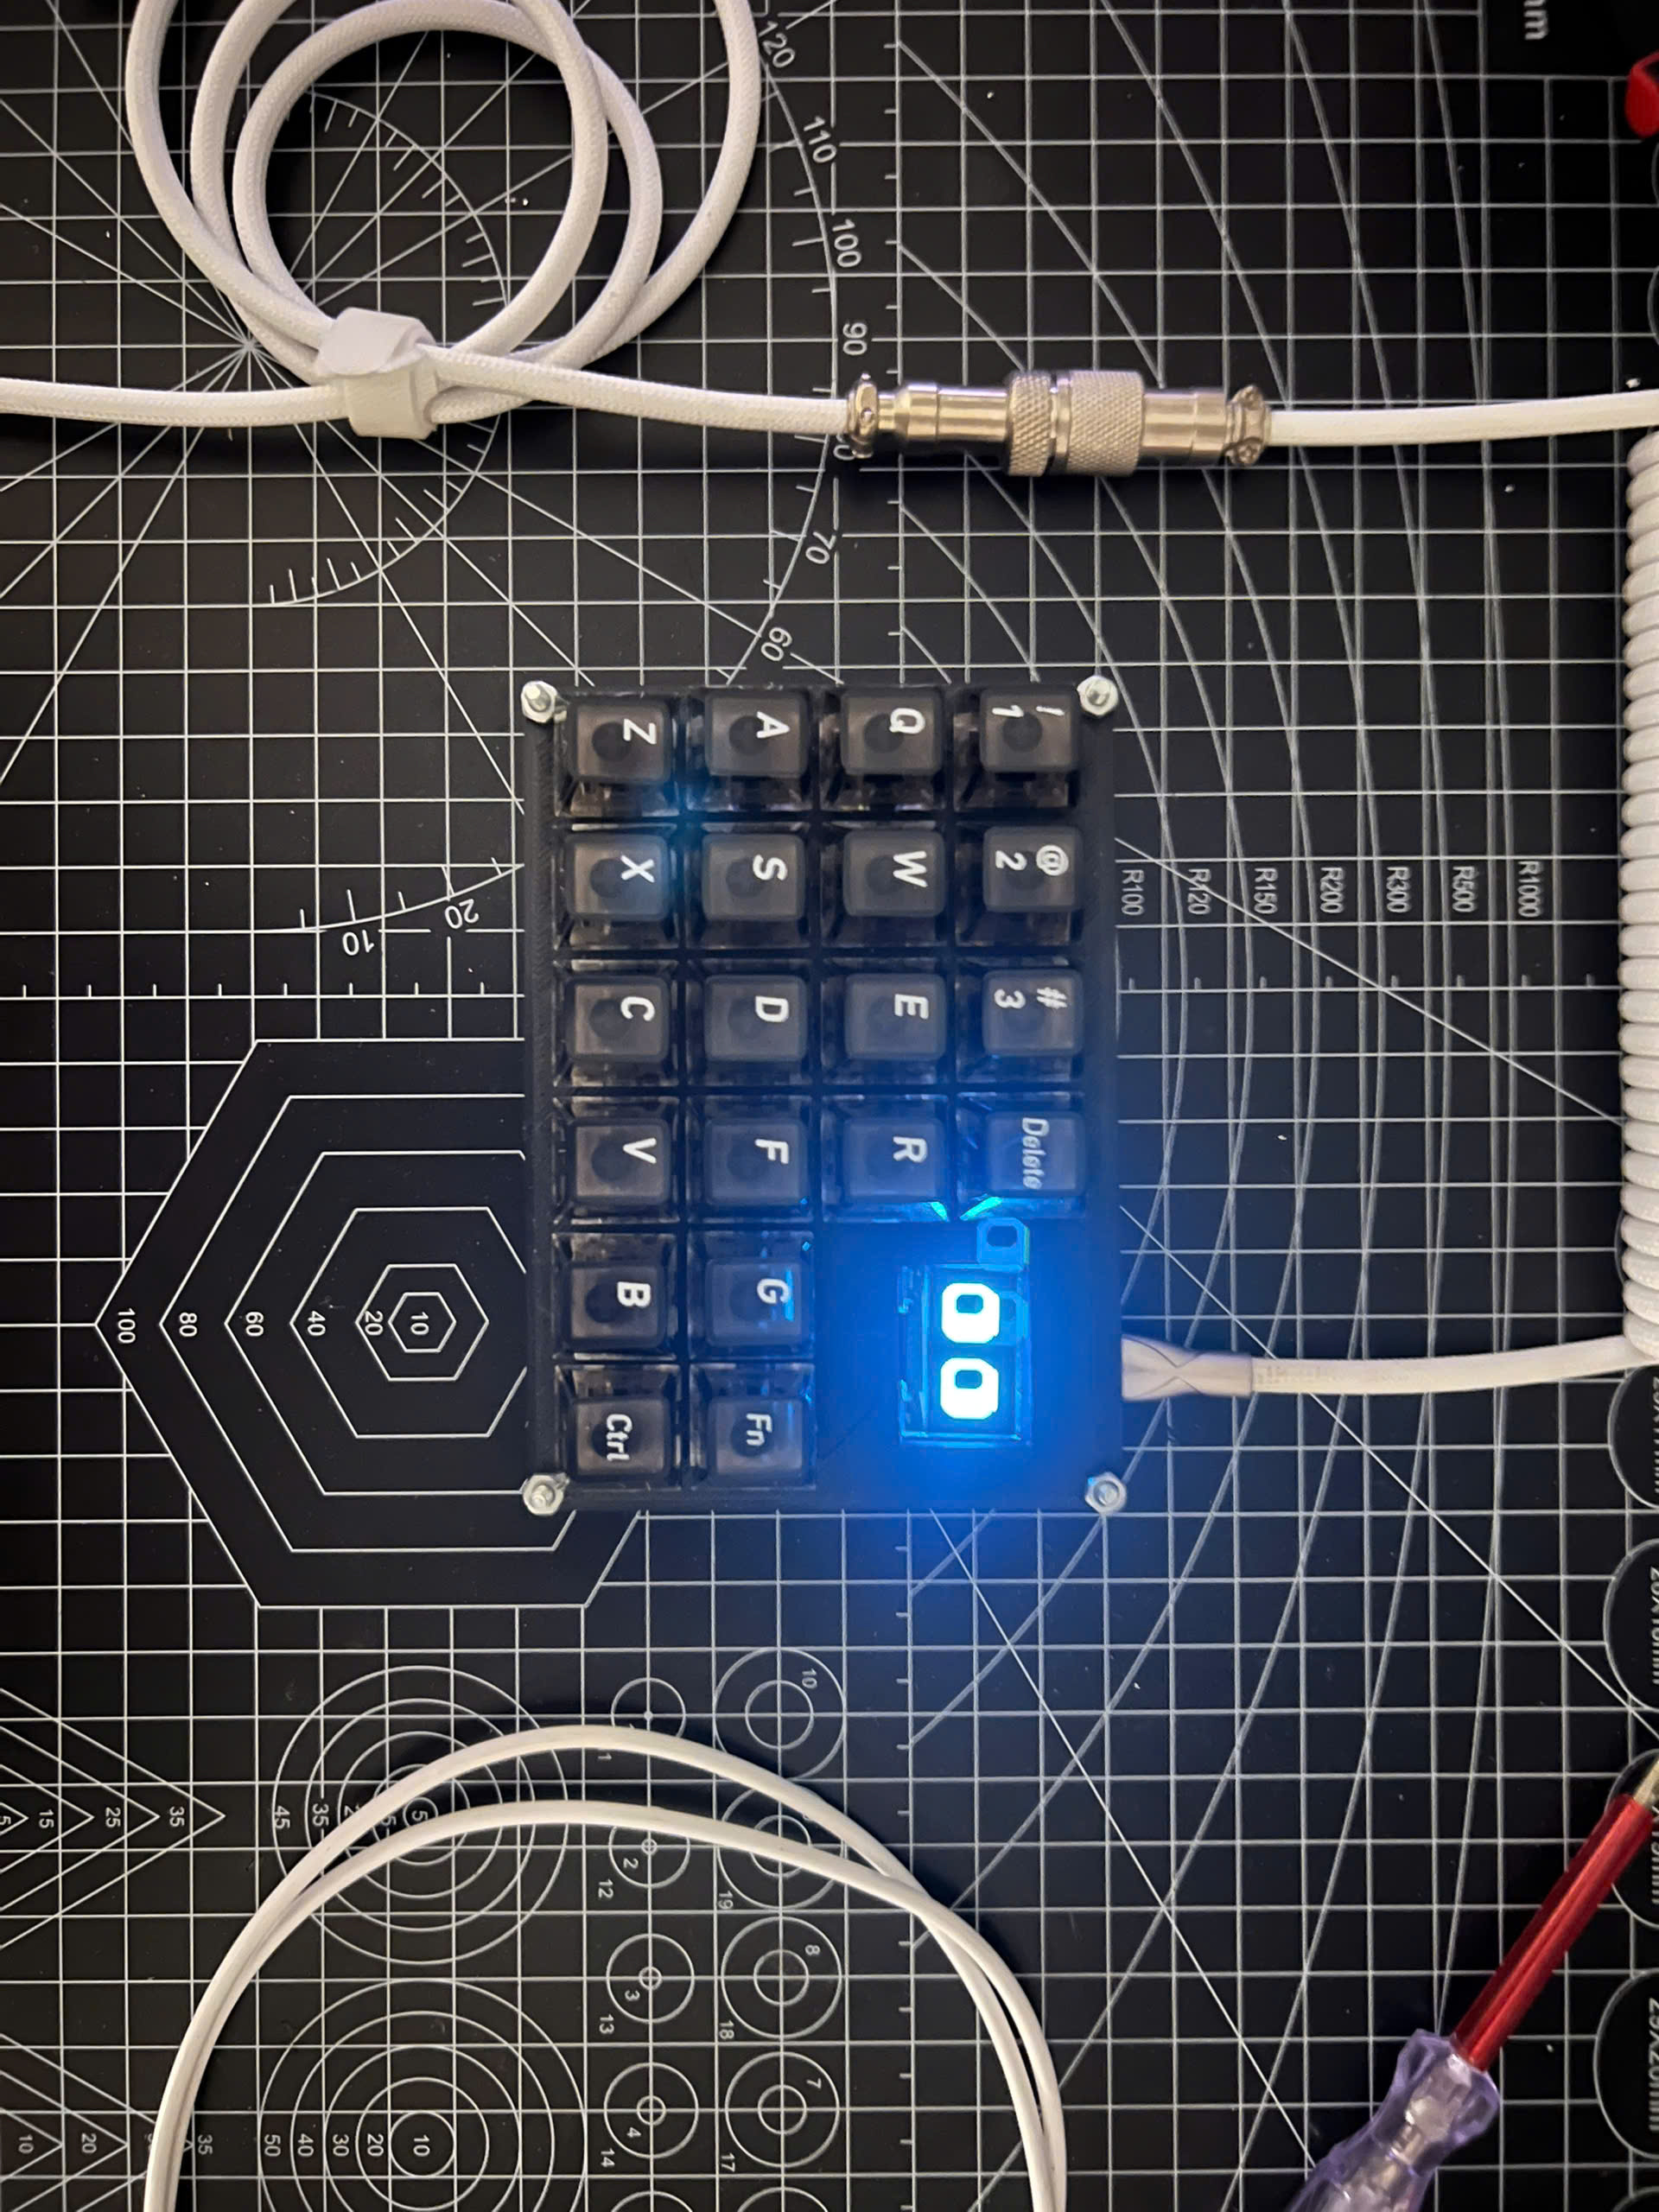
//  Layer 0: SHORTCUTER (default boot layer)
//    FN  = Row2,Col5 (H position)
//    CTRL= Row3,Col5 (N position)
//    DEL = Row0,Col3 (4 position)
//  Layer 1: TYPIST
//    Same FN/CTRL positions, everything else types normally
// ═══════════════════════════════════════════════════════
const uint8_t keymap[2][ROW_NUM][COL_NUM] = {
  // ── Layer 0: SHORTCUTER ──────────────────────────────
  {
    { '1',   '2',  '3',  K_DEL,  K_EMPTY, K_EMPTY },
    { 'q',   'w',  'e',  'r',    K_EMPTY, K_EMPTY },
    { 'a',   's',  'd',  'f',    'g',     K_FN    },
    { 'z',   'x',  'c',  'v',    'b',     K_CTRL  },
  },
  // ── Layer 1: TYPIST ──────────────────────────────────
  {
    { '1',   '2',  '3',  '4',    K_EMPTY, K_EMPTY },
    { 'q',   'w',  'e',  'r',    K_EMPTY, K_EMPTY },
    { 'a',   's',  'd',  'f',    'g',     K_FN    },
    { 'z',   'x',  'c',  'v',    'b',     K_CTRL  },
  },
};

// ═══════════════════════════════════════════════════════
//  STATE VARIABLES
// ═══════════════════════════════════════════════════════
int           currentLayer      = 0;
char          lastKeyStr[8]     = "---";
unsigned long lastActivityTime  = 0;
bool          screensaverActive = false;
bool          oledNeedsUpdate   = true;

// FN hold
bool          fnHeld      = false;
unsigned long fnHoldStart = 0;
bool          fnToggled   = false;

// Debounce
bool          keyState[ROW_NUM][COL_NUM];
bool          lastRaw[ROW_NUM][COL_NUM];
unsigned long debounceTimers[ROW_NUM][COL_NUM];
uint8_t       pressedKey[ROW_NUM][COL_NUM];
const unsigned long DEBOUNCE_MS = 20;

// ═══════════════════════════════════════════════════════
//  ROBO EYE STATE
// ═══════════════════════════════════════════════════════
float         eyePupilX        = 0.0f;   // current pupil X offset (-1 to 1)
float         eyePupilTargetX  = 0.0f;
float         eyeOpenH         = 1.0f;   // 1.0 = fully open, 0.0 = closed
float         eyeOpenTarget    = 1.0f;
int           eyeSeqIdx        = 0;
unsigned long lastEyeStateTime = 0;
unsigned long lastEyeDrawTime  = 0;

const unsigned long IDLE_TIMEOUT  = 5000;
const unsigned long EYE_STATE_DUR = 700;
const unsigned long EYE_DRAW_INTV = 33;  // ~30fps

// Animation sequence: pupil position, blink?
const float eyePupilSeq[] = { 0.0f, -1.0f,  0.0f, 1.0f, 0.0f, 0.0f };
const bool  eyeBlinkSeq[] = { false, false, false, false, false, true };
const int   EYE_SEQ_LEN   = 6;

// ═══════════════════════════════════════════════════════
//  ROBO EYE DRAWING
//  White rounded-rect eyes, black rounded-rect pupils
//  Pupils glide left/right; eyes blink open/shut
// ═══════════════════════════════════════════════════════
void drawRoboEyes(float pupilNorm, float openFactor) {
  display.clearDisplay();

  const int EYE_W      = 46;
  const int EYE_H_FULL = 42;
  const int EYE_R      = 11;   // corner radius (gives robo roundness)
  const int LEFT_CX    = 32;
  const int RIGHT_CX   = 96;
  const int EYE_CY     = 34;
  const int PUPIL_W    = 20;
  const int PUPIL_H_MX = 28;
  const int PUPIL_R    = 7;
  const int MAX_MOVE   = 9;

  int eyeH   = max(2, (int)(EYE_H_FULL * openFactor));
  int eyeTopY = EYE_CY - eyeH / 2;
  int cr     = min(EYE_R, eyeH / 2);      // safe corner radius
  int pOff   = (int)(pupilNorm * MAX_MOVE);

  // White eye bodies
  display.fillRoundRect(LEFT_CX  - EYE_W / 2, eyeTopY, EYE_W, eyeH, cr, SSD1306_WHITE);
  display.fillRoundRect(RIGHT_CX - EYE_W / 2, eyeTopY, EYE_W, eyeH, cr, SSD1306_WHITE);

  // Black pupils (only when sufficiently open)
  if (openFactor > 0.25f) {
    int pH   = min(PUPIL_H_MX, eyeH - 10);
    int pTopY = EYE_CY - pH / 2;
    if (pH > 4) {
      display.fillRoundRect(LEFT_CX  - PUPIL_W / 2 + pOff, pTopY, PUPIL_W, pH, PUPIL_R, SSD1306_BLACK);
      display.fillRoundRect(RIGHT_CX - PUPIL_W / 2 + pOff, pTopY, PUPIL_W, pH, PUPIL_R, SSD1306_BLACK);
    }
  }

  display.display();
}

// ═══════════════════════════════════════════════════════
//  OLED LAYER SCREEN
// ═══════════════════════════════════════════════════════
void drawLayerScreen() {
  display.clearDisplay();
  display.setTextColor(SSD1306_WHITE);

  display.setTextSize(1);
  display.setCursor(0, 0);
  display.print("MONKIIBOARD");
  display.drawLine(0, 10, 127, 10, SSD1306_WHITE);

  display.setTextSize(2);
  display.setCursor(0, 14);
  display.print(currentLayer == 0 ? "SHORTCUTER" : "TYPIST");

  display.drawLine(0, 46, 127, 46, SSD1306_WHITE);
  display.setTextSize(1);
  display.setCursor(0, 50);
  display.print("LAST: ");
  display.print(lastKeyStr);

  display.display();
}

// ═══════════════════════════════════════════════════════
//  OLED UPDATE (non-blocking)
// ═══════════════════════════════════════════════════════
void updateOLED(unsigned long now) {
  if (screensaverActive) {
    // Advance eye animation state every EYE_STATE_DUR ms
    if (now - lastEyeStateTime >= EYE_STATE_DUR) {
      lastEyeStateTime = now;
      eyeSeqIdx        = (eyeSeqIdx + 1) % EYE_SEQ_LEN;
      eyePupilTargetX  = eyePupilSeq[eyeSeqIdx];
      eyeOpenTarget    = eyeBlinkSeq[eyeSeqIdx] ? 0.0f : 1.0f;
    }

    // Redraw at ~30fps with lerp for smooth motion
    if (now - lastEyeDrawTime >= EYE_DRAW_INTV) {
      lastEyeDrawTime = now;

      const float LERP = 0.18f;
      eyePupilX += (eyePupilTargetX - eyePupilX) * LERP;
      eyeOpenH  += (eyeOpenTarget   - eyeOpenH)  * LERP;

      // Auto-reopen after blink completes
      if (eyeOpenTarget < 0.5f && eyeOpenH < 0.06f) {
        eyeOpenTarget = 1.0f;
      }

      drawRoboEyes(eyePupilX, eyeOpenH);
    }

  } else if (oledNeedsUpdate) {
    drawLayerScreen();
    oledNeedsUpdate = false;
  }
}

// ═══════════════════════════════════════════════════════
//  LAYER TOGGLE
// ═══════════════════════════════════════════════════════
void toggleLayer() {
  Keyboard.releaseAll();            // release any held keys
  currentLayer      = (currentLayer == 0) ? 1 : 0;
  screensaverActive = false;
  lastActivityTime  = millis();
  drawLayerScreen();                // instant OLED update
}

// ═══════════════════════════════════════════════════════
//  KEY PRESS
// ═══════════════════════════════════════════════════════
void onKeyPress(int r, int c) {
  lastActivityTime = millis();
  pressedKey[r][c] = K_EMPTY;

  // Wake screensaver — consume keypress, don't type
  if (screensaverActive) {
    screensaverActive = false;
    drawLayerScreen();
    return;
  }

  uint8_t key      = keymap[currentLayer][r][c];
  pressedKey[r][c] = key;

  if (key == K_EMPTY) return;

  if (key == K_FN) {
    fnHeld      = true;
    fnHoldStart = millis();
    fnToggled   = false;
    return;
  }

  if (key == K_DEL) {
    strncpy(lastKeyStr, "DEL", sizeof(lastKeyStr));
    Keyboard.press(KEY_BACKSPACE);
    oledNeedsUpdate = true;
    return;
  }

  if (key == K_CTRL) {
    strncpy(lastKeyStr, "CTRL", sizeof(lastKeyStr));
    Keyboard.press(KEY_LEFT_CTRL);
    oledNeedsUpdate = true;
    return;
  }

  // Regular ASCII
  lastKeyStr[0] = (char)toupper(key);
  lastKeyStr[1] = '\0';
  Keyboard.press((char)key);
  oledNeedsUpdate = true;
}

// ═══════════════════════════════════════════════════════
//  KEY RELEASE
// ═══════════════════════════════════════════════════════
void onKeyRelease(int r, int c) {
  lastActivityTime = millis();
  uint8_t key      = pressedKey[r][c];
  pressedKey[r][c] = K_EMPTY;

  if (key == K_EMPTY)  return;
  if (key == K_FN)     { fnHeld = false; return; }
  if (key == K_DEL)    { Keyboard.release(KEY_BACKSPACE);   return; }
  if (key == K_CTRL)   { Keyboard.release(KEY_LEFT_CTRL);   return; }

  Keyboard.release((char)key);
}

// ═══════════════════════════════════════════════════════
//  SETUP
// ═══════════════════════════════════════════════════════
void setup() {
  for (int r = 0; r < ROW_NUM; r++) {
    pinMode(rowPins[r], OUTPUT);
    digitalWrite(rowPins[r], HIGH);
  }
  for (int c = 0; c < COL_NUM; c++) {
    pinMode(colPins[c], INPUT_PULLUP);
  }

  memset(keyState,       false, sizeof(keyState));
  memset(lastRaw,        false, sizeof(lastRaw));
  memset(debounceTimers, 0,     sizeof(debounceTimers));
  memset(pressedKey,     0,     sizeof(pressedKey));

  Keyboard.begin();

  Wire1.setSDA(14);
  Wire1.setSCL(15);
  Wire1.begin();
  display.begin(SSD1306_SWITCHCAPVCC, 0x3C);

  lastActivityTime = millis();
  drawLayerScreen();
}

// ═══════════════════════════════════════════════════════
//  MAIN LOOP
// ═══════════════════════════════════════════════════════
void loop() {
  unsigned long now = millis();

  // ── Matrix scan ──────────────────────────────────────
  for (int r = 0; r < ROW_NUM; r++) {
    digitalWrite(rowPins[r], LOW);
    delayMicroseconds(10);

    for (int c = 0; c < COL_NUM; c++) {
      bool raw = (digitalRead(colPins[c]) == LOW);

      if (raw != lastRaw[r][c]) {
        debounceTimers[r][c] = now;
        lastRaw[r][c]        = raw;
      }

      if ((now - debounceTimers[r][c]) >= DEBOUNCE_MS) {
        if (raw != keyState[r][c]) {
          keyState[r][c] = raw;
          if (raw) onKeyPress(r, c);
          else     onKeyRelease(r, c);
        }
      }
    }

    digitalWrite(rowPins[r], HIGH);
  }

  // ── FN hold 1s → toggle layer ─────────────────────────
  if (fnHeld && !fnToggled && (now - fnHoldStart) >= 1000) {
    toggleLayer();
    fnToggled = true;
  }

  // ── Idle 5s → screensaver ────────────────────────────
  if (!screensaverActive && (now - lastActivityTime) >= IDLE_TIMEOUT) {
    screensaverActive = true;
    eyeSeqIdx         = 0;
    eyePupilX         = 0.0f;
    eyePupilTargetX   = 0.0f;
    eyeOpenH          = 1.0f;
    eyeOpenTarget     = 1.0f;
    lastEyeStateTime  = now;
    lastEyeDrawTime   = now;
    drawRoboEyes(0.0f, 1.0f);
  }

  // ── OLED update ──────────────────────────────────────
  updateOLED(now);
}