Deep-Dive Series // 5 Steps

Soldering Without Fear

The twenty minutes of practice that makes every other guide easier

Difficulty

Beginner

Time

1 hour

Steps

5 stages

Every file for this build is up on GitHub, the plates, the case and the firmware

Our GitHub

Before You Build

Gather everything below before you start and the whole build goes a lot smoother. The printable parts are on GitHub, so you only need to buy the hardware.

Component Manifest

Component Qty Specification
Temperature-controlled iron 1 We suggest around 320–350°C for leaded solder
Leaded solder, 0.8mm 1 roll Easier to learn on than lead-free. Wash your hands after
Scrap wire or an old board some To practise on before you touch the real one
Brass wool or a damp sponge 1 For keeping the tip clean

Tools Required

01

Soldering iron

02

Solder

03

Flush cutters

04

Tweezers

05

Good light

06

Ventilation

Build Steps

Work through these in order. Anything you need to download along the way, the plates, the case and the firmware, is already waiting for you on GitHub.

01

Step 1 of 5

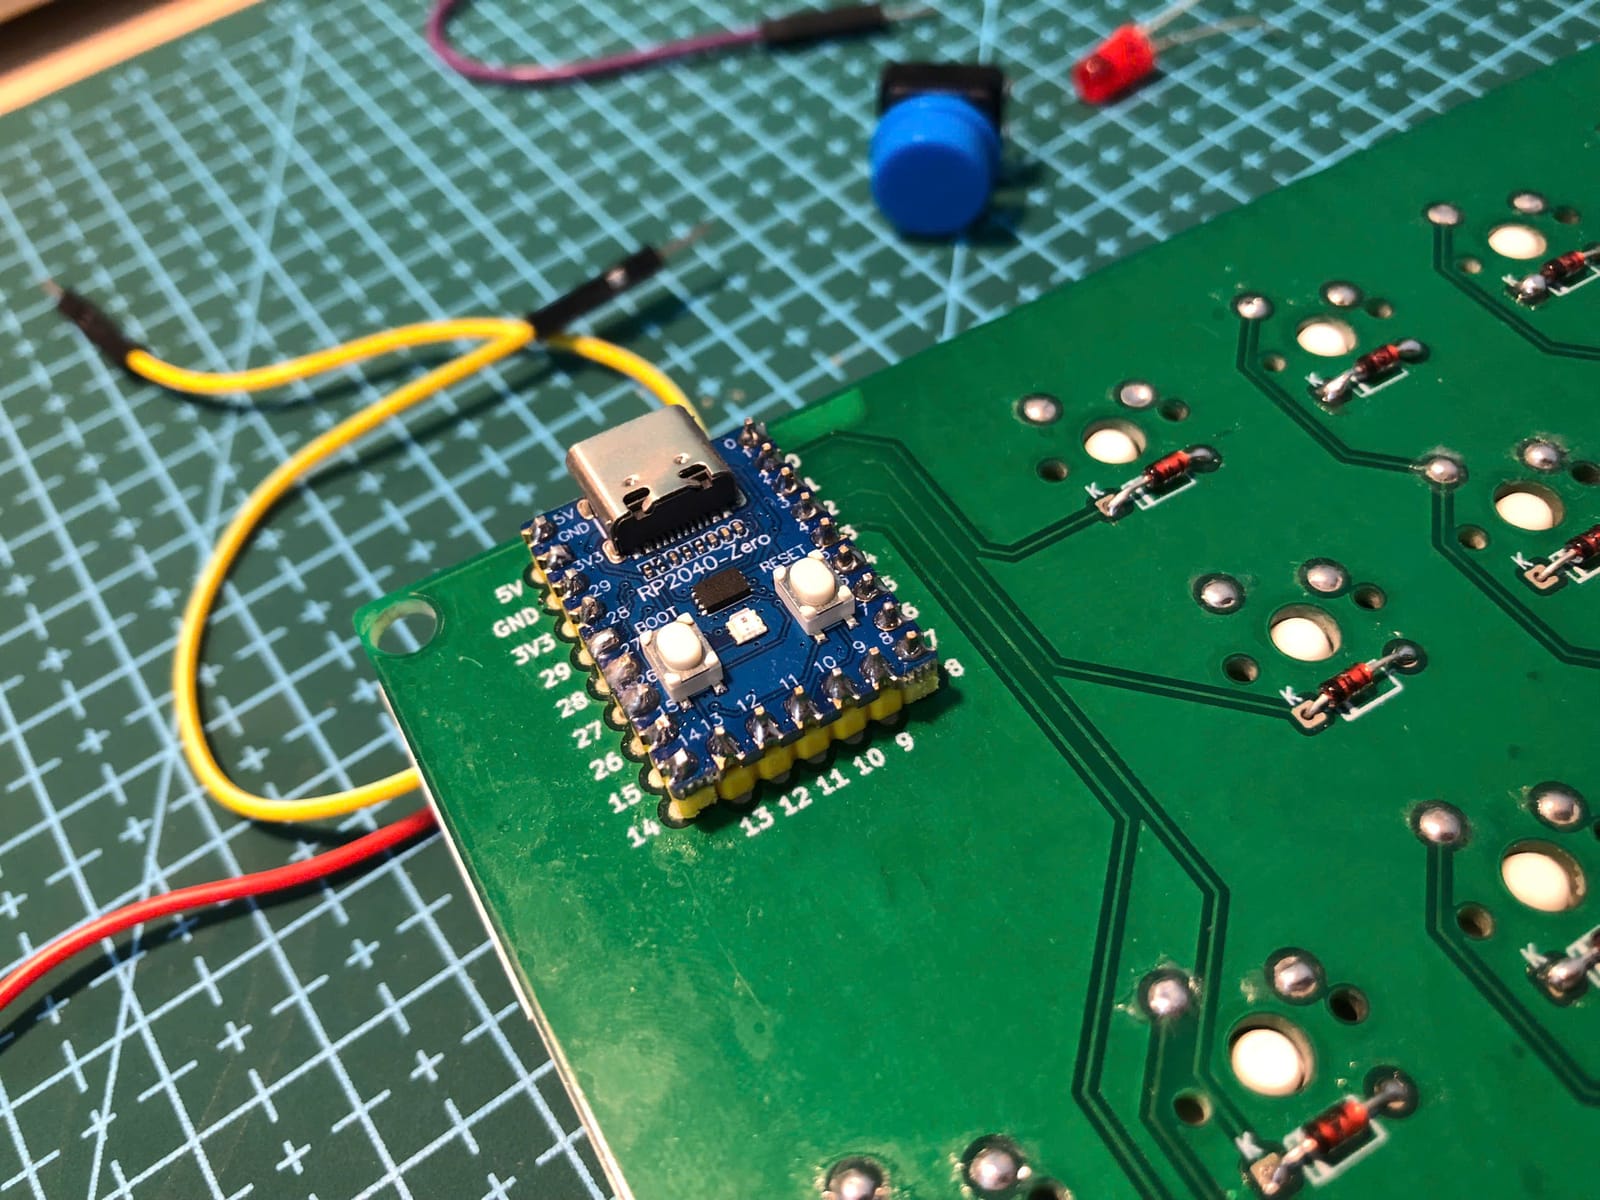
Heat the joint, not the solder

This is the one thing that separates a good joint from a bad one. Touch the iron to the pad and the pin together for a second or so, then feed solder into the joint itself, not onto the iron tip. The heated metal melts the solder and pulls it in. If you melt solder on the tip and drop it on, you get a grey blob sitting on top that looks connected and is not.

Pro Tip

A good joint is shiny and shaped like a tiny volcano. Dull, cracked or ball-shaped means reheat it and add a little fresh solder.
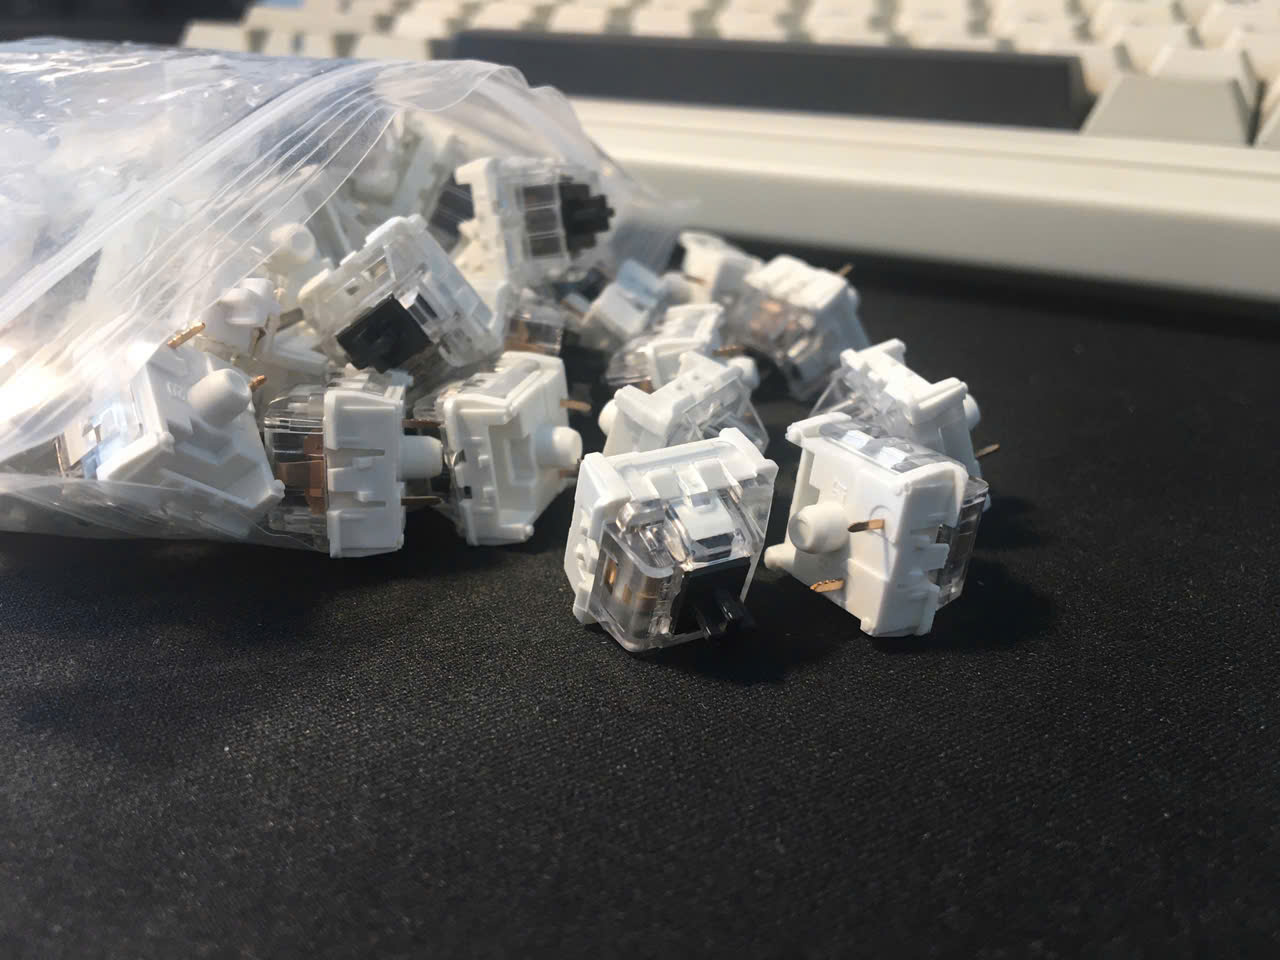
Heat the joint, not the solder
Step 1, Heat the joint, not the solder

02

Step 2 of 5

Keep the tip clean and tinned

A blackened tip will not transfer heat, and most "my iron is broken" moments are really just an oxidised tip. Wipe it on brass wool every few joints and leave a little solder on it whenever you set the iron down. We would recommend brass wool over a wet sponge, since the sponge cools the tip every time you use it.

Pro Tip

If a clean tip still will not take solder, it has oxidised through. Tip tinner brings it back in seconds and costs very little.

Keep the tip clean and tinned
Step 2, Keep the tip clean and tinned

03

Step 3 of 5

Practise before the real board

Spend twenty minutes joining scrap wire before you touch anything you care about. You are training two things: how long the iron needs on a joint, and how much solder is enough. Both are muscle memory, and both are much cheaper to learn on wire than on a Pro Micro you have to desolder afterwards.

Practise before the real board
Step 3, Practise before the real board

04

Step 4 of 5

Work in an order that helps you

Do the flattest components first and the tallest last, so the board still sits level while you work. On a handwired build, tack one corner of each switch first, check the plate is sitting flat, then go back and finish every joint properly. Fixing a crooked switch is far easier before forty wires are attached to it.

Pro Tip

Helping hands or a lump of blu-tack to hold the board steady genuinely makes a difference. Two hands is not quite enough.

Work in an order that helps you
Step 4, Work in an order that helps you

05

Step 5 of 5

Know how to undo it

You will make a mistake, and that is fine, so long as you can reverse it. Desoldering braid pressed onto a joint with the iron wicks the old solder away, and a solder sucker handles bigger blobs. Knowing you can undo a joint takes most of the fear out of making one, which is usually what makes people hesitate and overheat a pad.

Pro Tip

If a pad lifts off the board, stop and take a photo before doing anything else. It is usually repairable with a jumper wire, and the photo helps.

Know how to undo it
Step 5, Know how to undo it

Join the Discussion

Stuck on a step, got a tip, or just finished your build? Drop it in our form. We read every single one and it helps us make the guide better.

Leave a Comment →