Deep-Dive Series // 5 Steps

Flashing Your First Firmware

Getting a sketch off your screen and onto a board that types

Difficulty

Beginner

Time

30 minutes

Steps

5 stages

Every file for this build is up on GitHub, the plates, the case and the firmware

Our GitHub

Before You Build

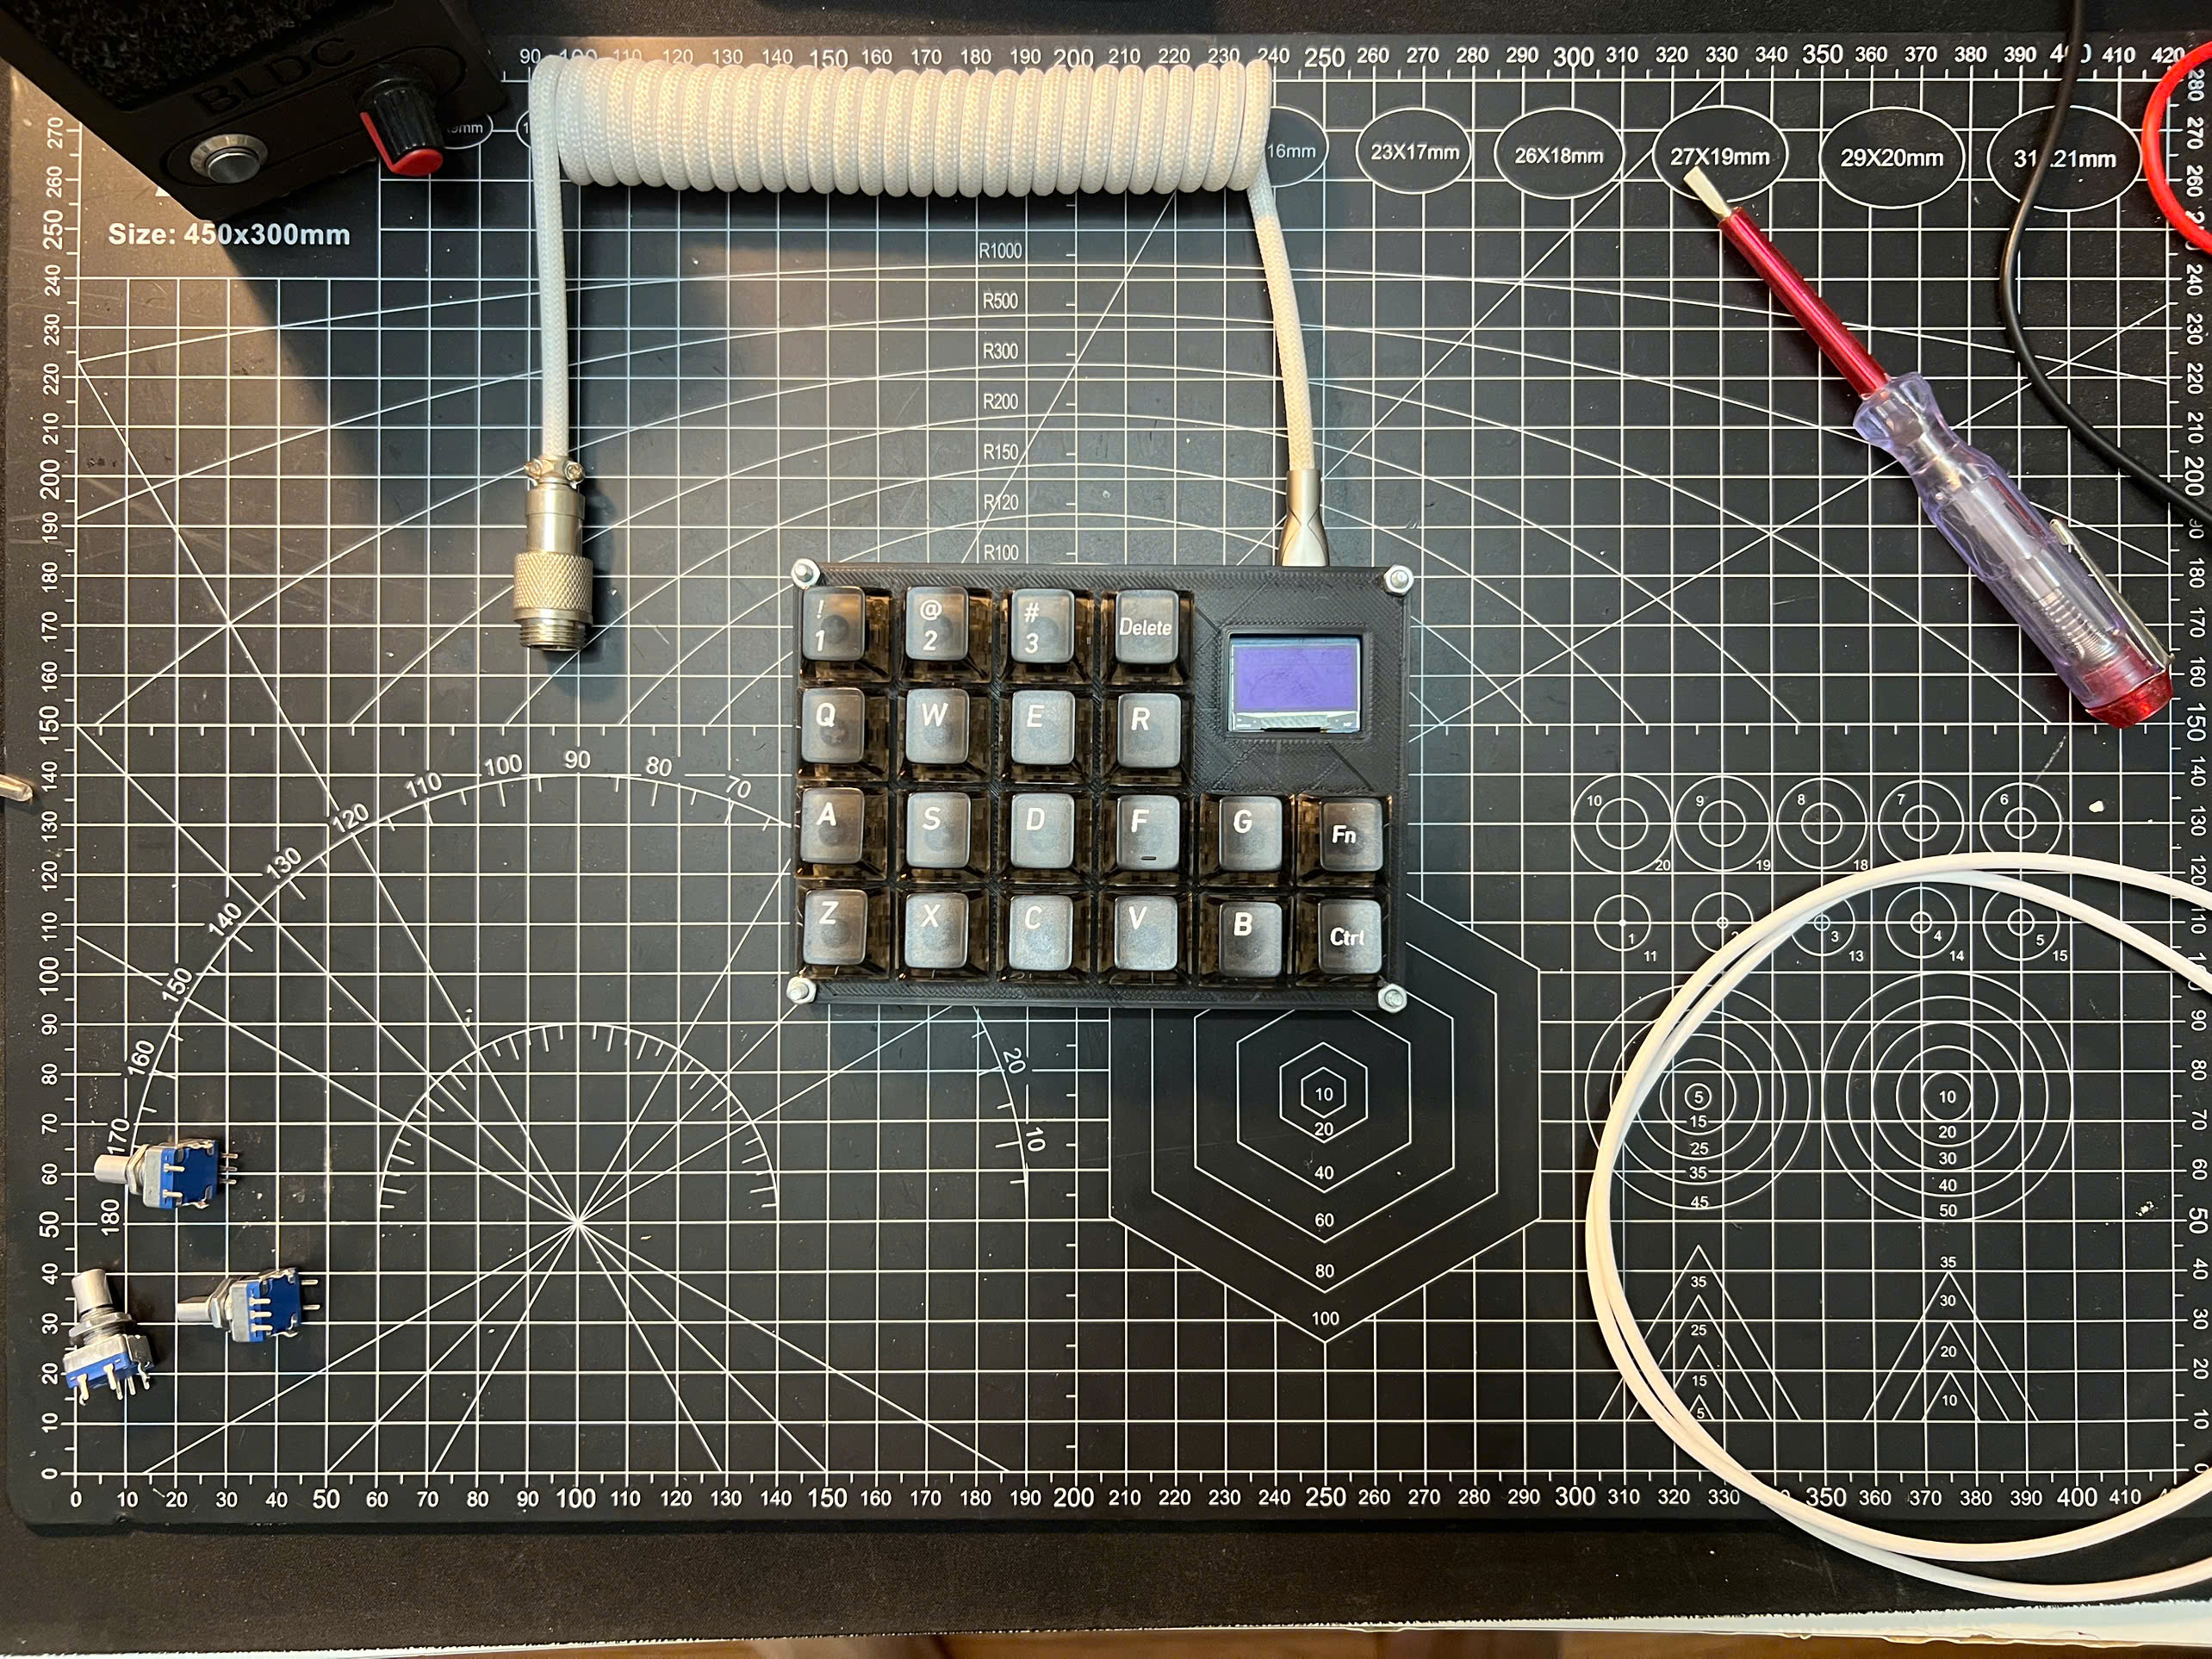
Gather everything below before you start and the whole build goes a lot smoother. The printable parts are on GitHub, so you only need to buy the hardware.

Component Manifest

Component Qty Specification
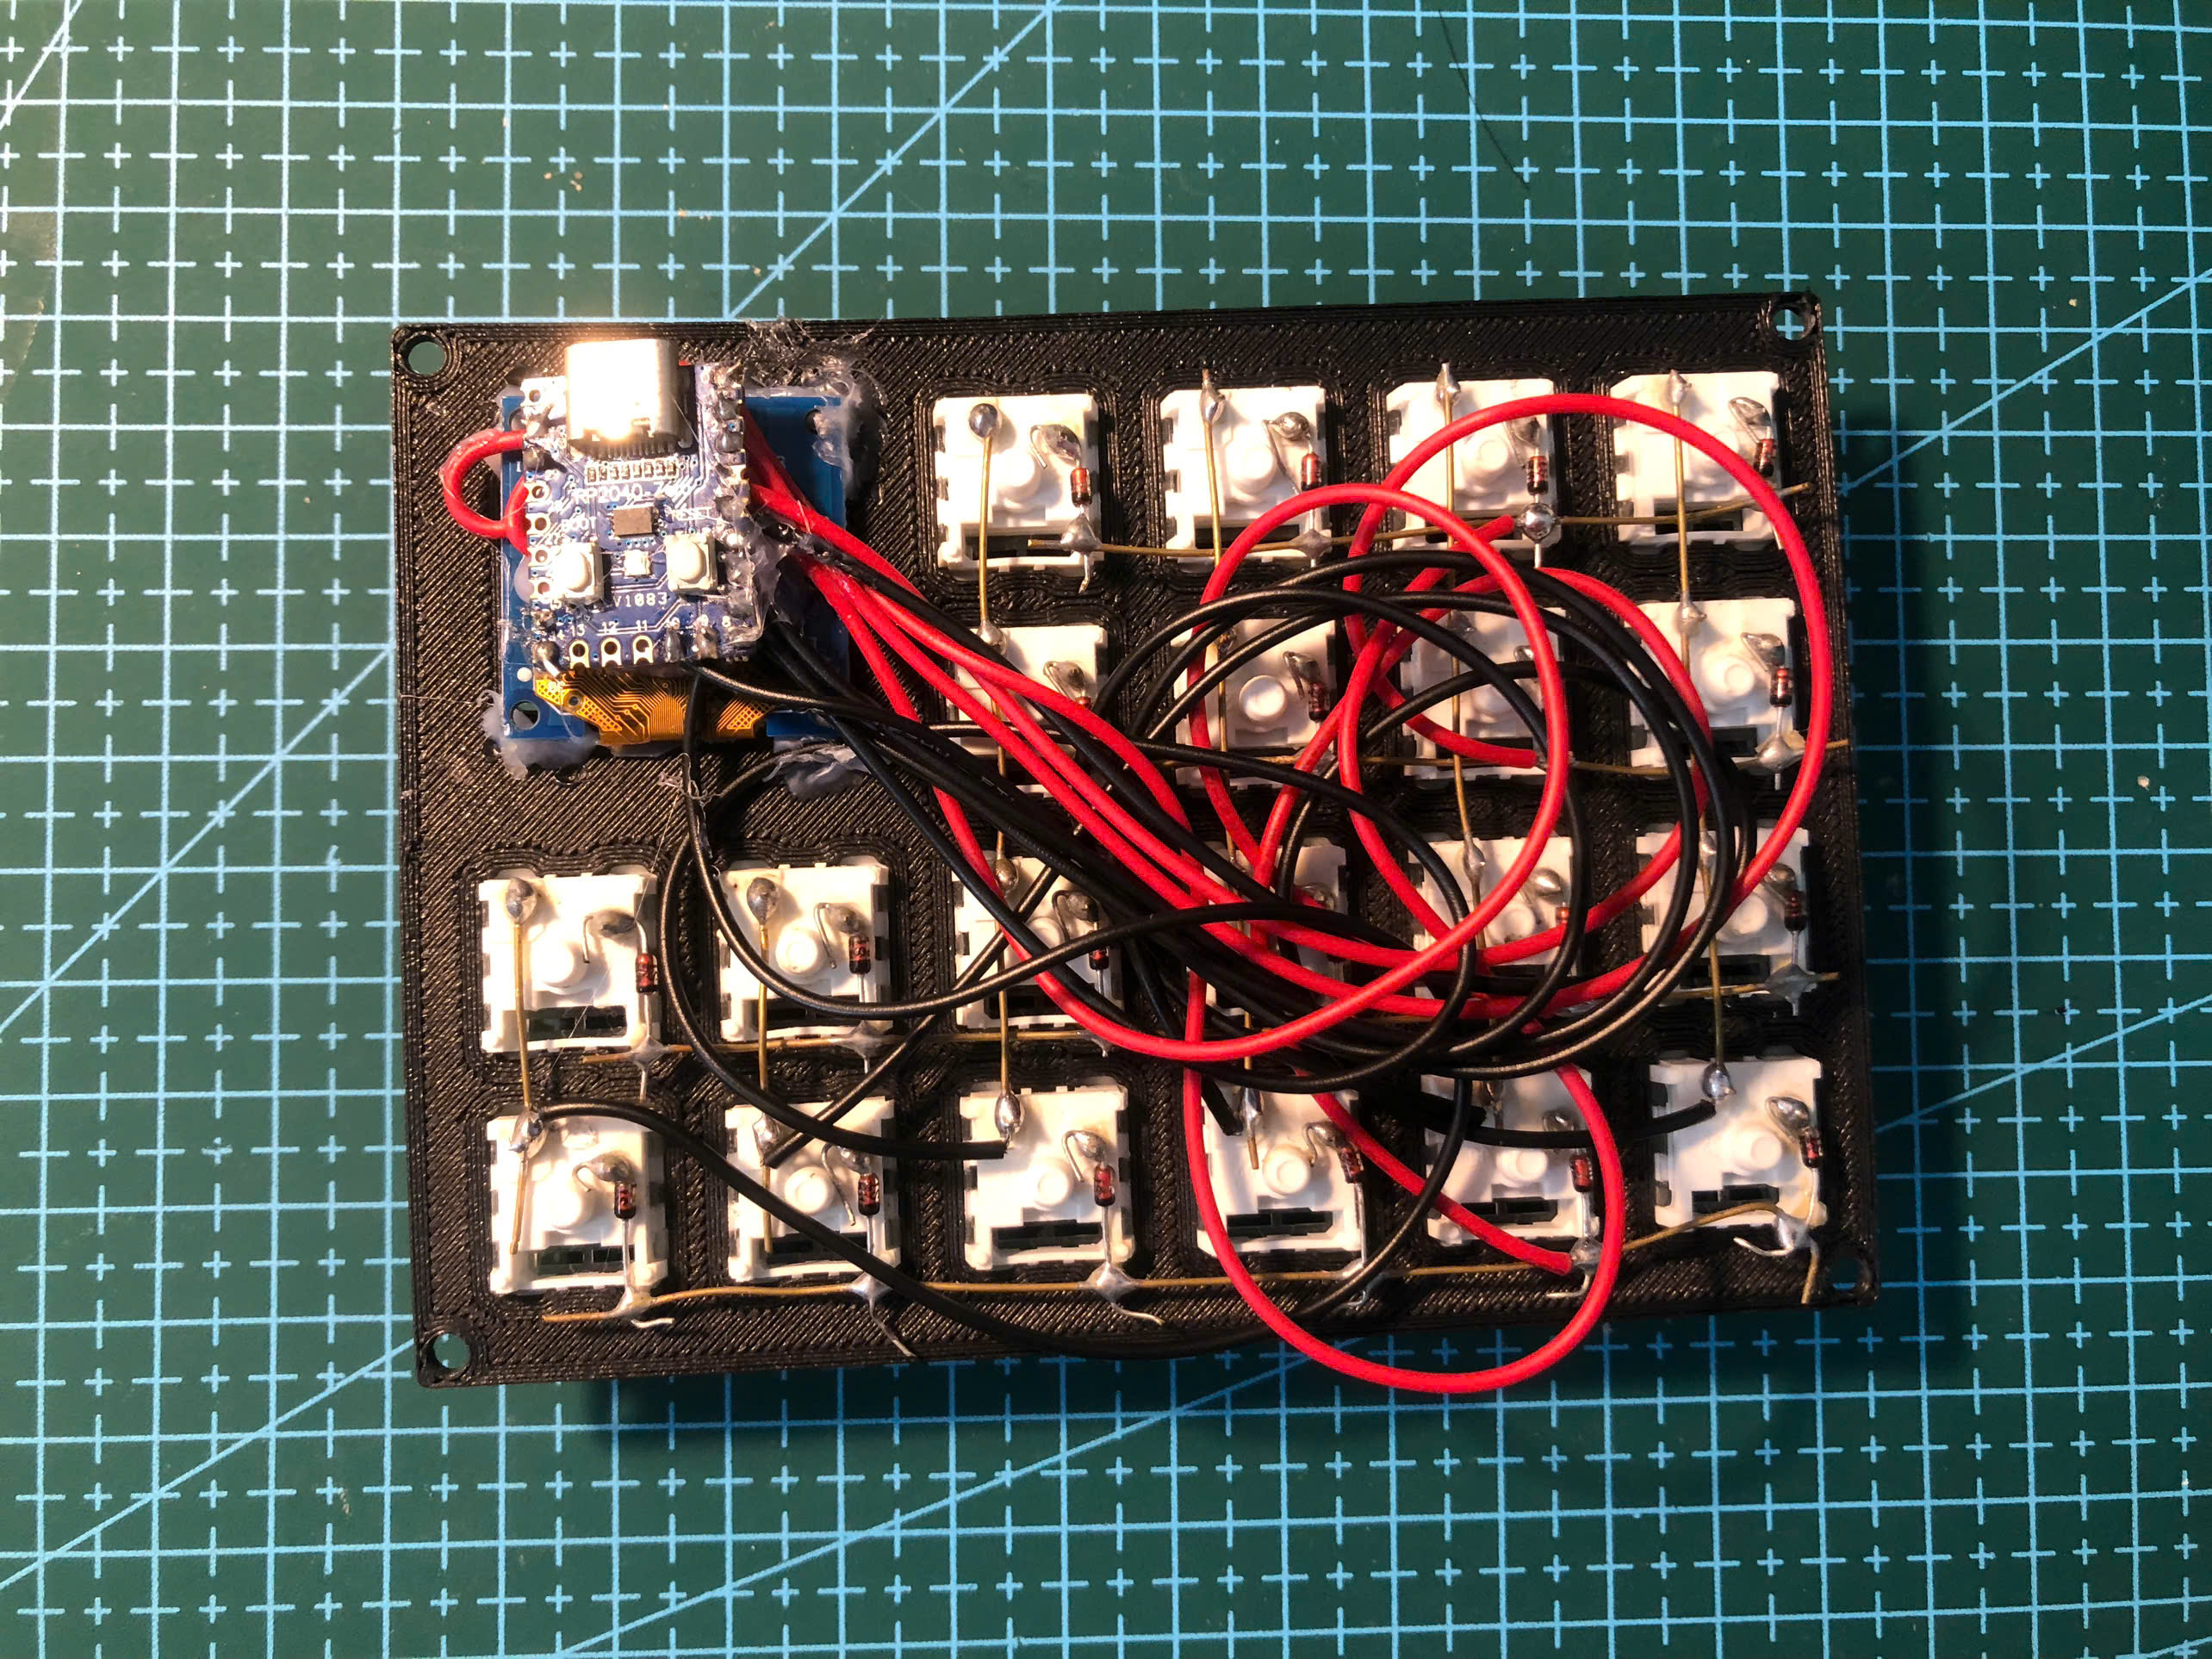
Your finished board 1 Wired, and checked for shorts
USB cable that carries data 1 Plenty of charging cables do not. This trips up a lot of people
Arduino IDE 1 Free, on Windows, macOS and Linux

Tools Required

01

A computer

02

Arduino IDE 2.x

03

The sketch for your board

Build Steps

Work through these in order. Anything you need to download along the way, the plates, the case and the firmware, is already waiting for you on GitHub.

01

Step 1 of 5

Get the sketch

You have two options. Every board we make has its reference sketch on GitHub, ready to open. Or, if you want your own layout, the Keymap Editor will build the sketch for you in the browser and hand you a .ino to download. Either way you end up with a single file you open in the Arduino IDE.
Get the sketch
Step 1, Get the sketch

02

Step 2 of 5

Add board support

A Pro Micro needs the SparkFun AVR boards package, and an RP2040 Zero needs the Raspberry Pi Pico package. Both install through Tools → Board → Boards Manager in the IDE. This is a one-time setup, and skipping it is why the board you own does not appear in the list.

Pro Tip

You will also want the Keyboard library for Pro Micro builds, and Adafruit SSD1306 plus GFX if your board has an OLED.

Add board support
Step 2, Add board support

03

Step 3 of 5

Check your pins match your wiring

This is the step people skip and then spend an evening debugging. Near the top of every sketch there is a rowPins and a colPins array, and those numbers have to be the pins you actually soldered to, not the ones in our reference build. If you wired it yourself, open your notes and make them agree before uploading anything.

Pro Tip

No notes? Follow each wire back to the MCU with a multimeter in continuity mode. Tedious, but faster than guessing.

Check your pins match your wiring
Step 3, Check your pins match your wiring

04

Step 4 of 5

Pick the board and port, then upload

Under Tools, set Board to the one you installed and Port to whichever appears when you plug your keyboard in. Unplug it and watch which port disappears if you are unsure. Then press Upload and watch the log. A successful flash ends with the board reconnecting on its own.

Pro Tip

A Pro Micro that will not take an upload can be forced into its bootloader by shorting RST to GND twice, quickly, then uploading within about eight seconds.

Pick the board and port, then upload
Step 4, Pick the board and port, then upload

05

Step 5 of 5

Test every key, not just a few

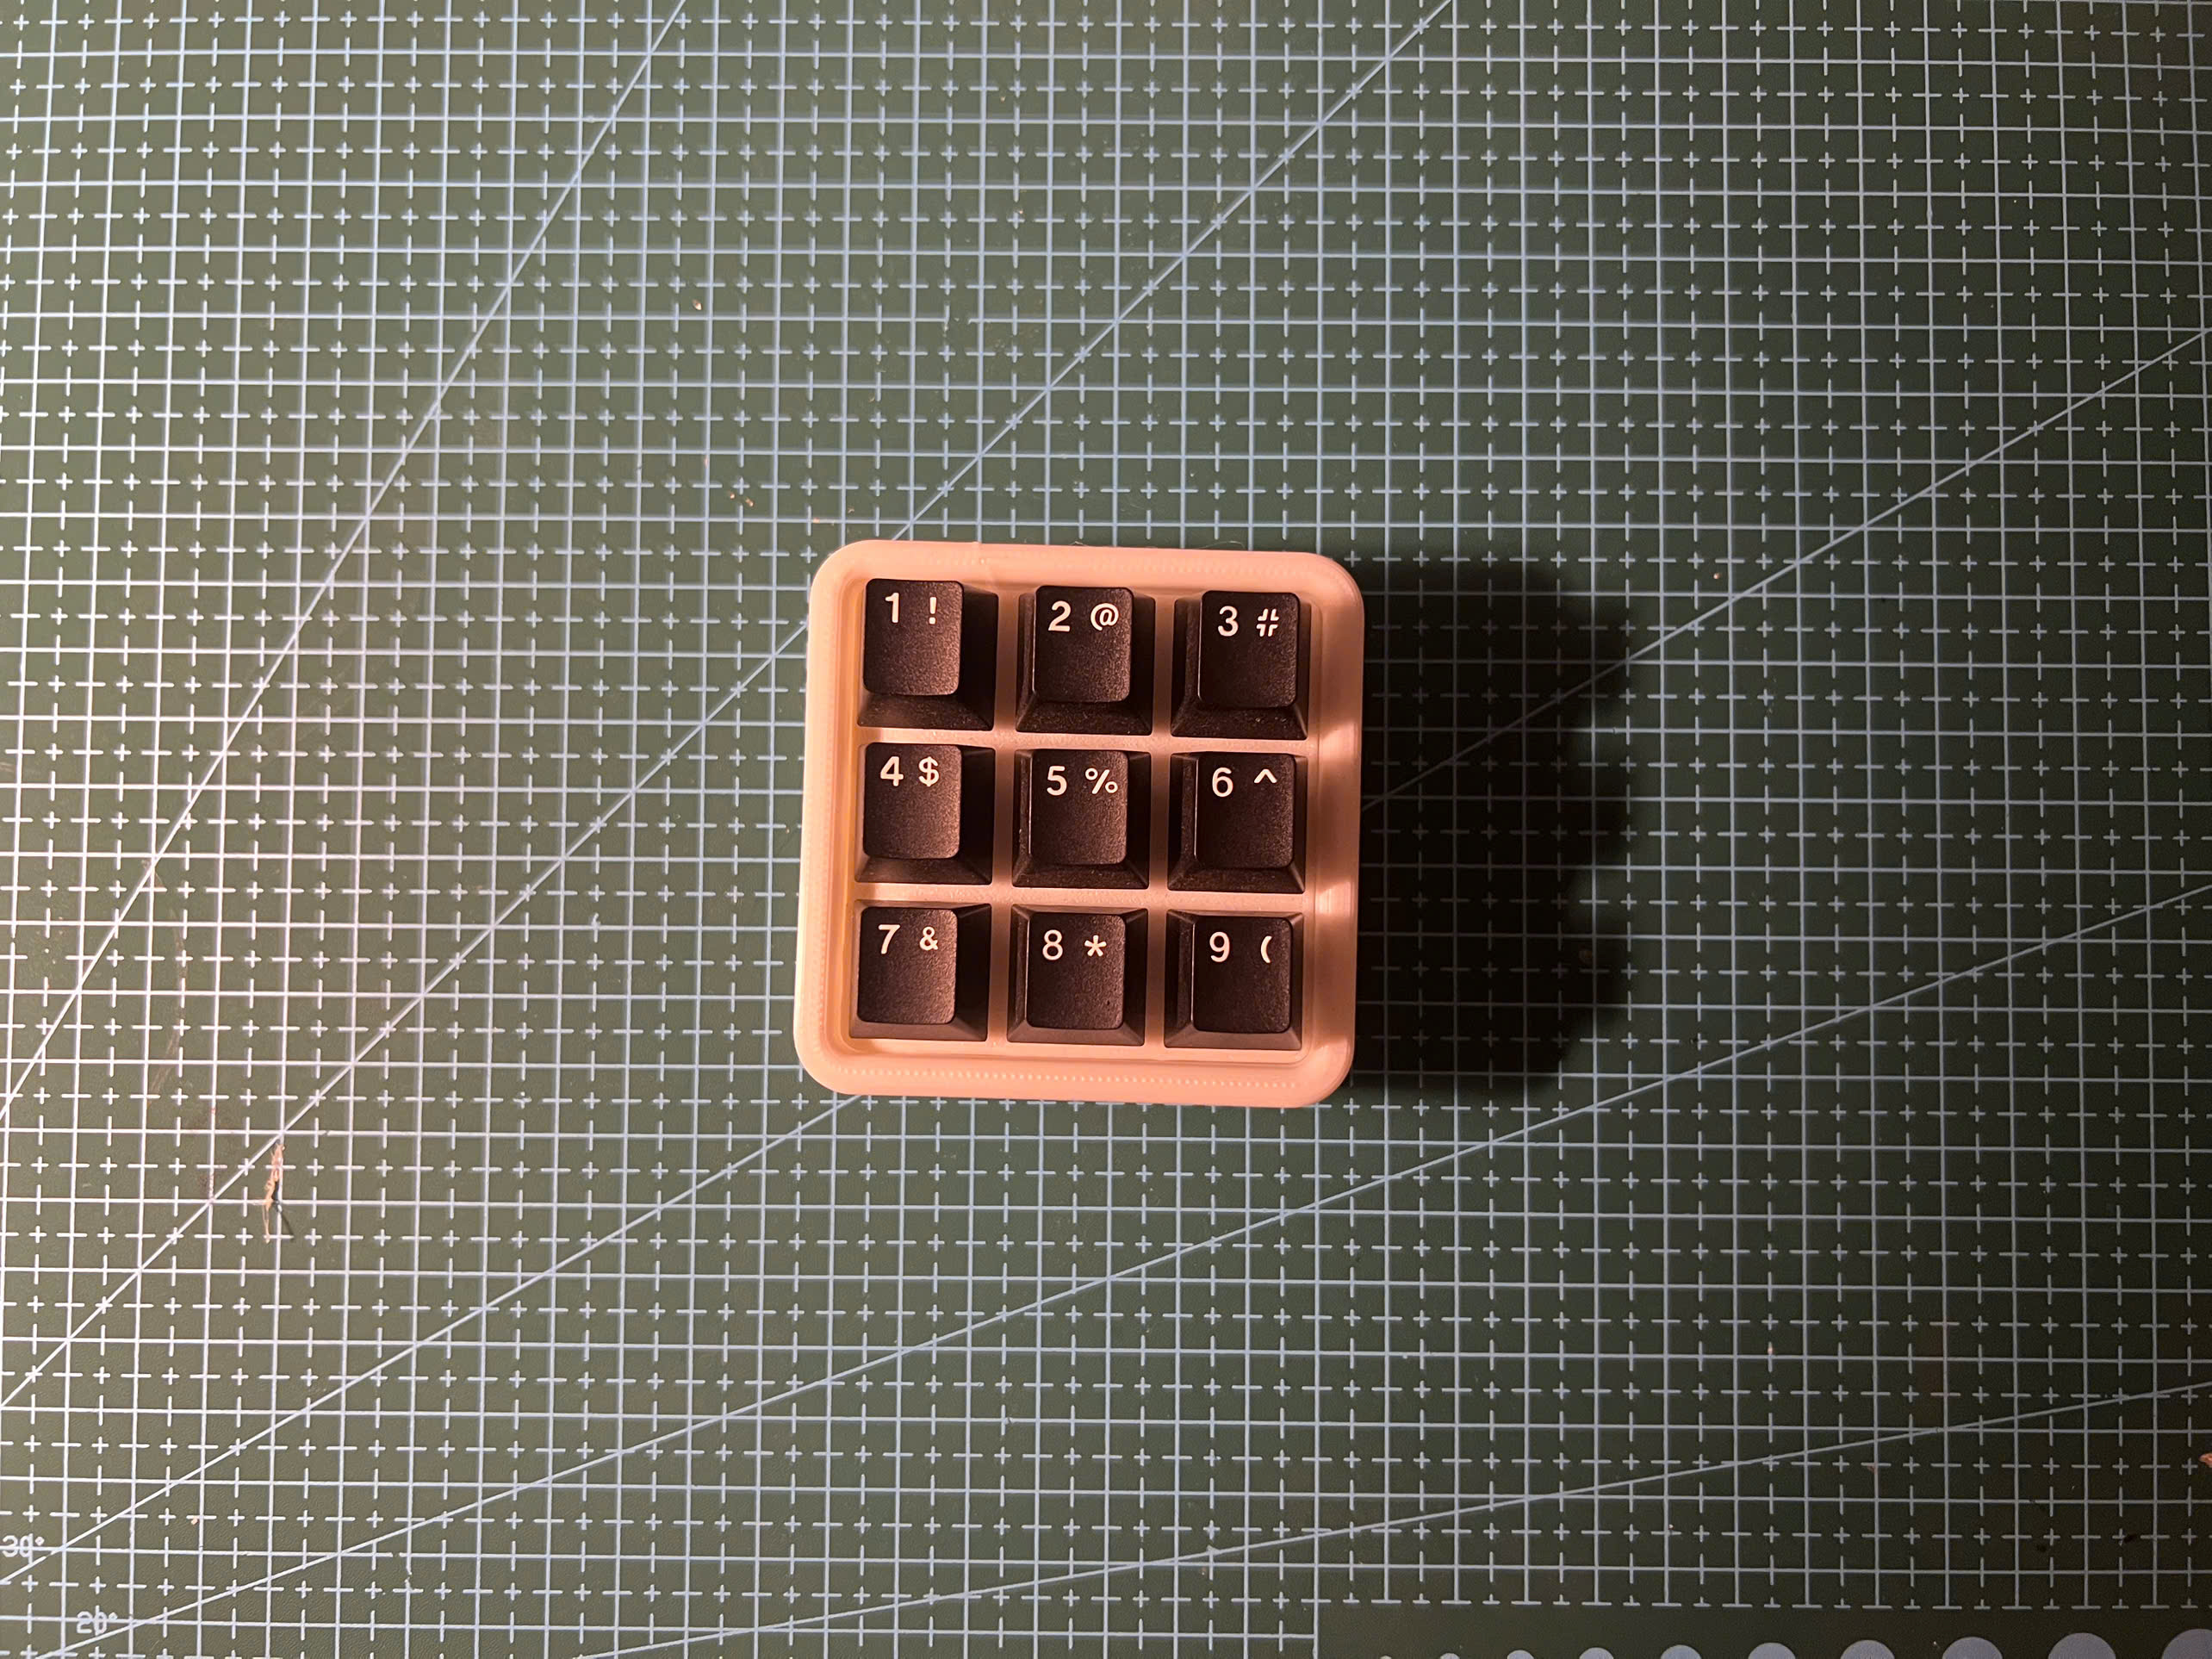
Open any online keyboard tester and press all of them. What you are looking for is a key that does nothing, a key that fires twice, or two keys that swap. Each has a different cause, and our dead key guide walks through diagnosing them. If everything registers, you are finished, and the board is yours to remap whenever you like.

Test every key, not just a few
Step 5, Test every key, not just a few

Join the Discussion

Stuck on a step, got a tip, or just finished your build? Drop it in our form. We read every single one and it helps us make the guide better.

Leave a Comment →